Creating a new campaign
Most people start with the pre-built Smart and Drip campaigns we ship with the app, and that covers a surprising amount of ground. When you have a specific outreach in mind that the built-ins don't quite handle, you can build one from scratch and control every detail.
Starting a new campaign
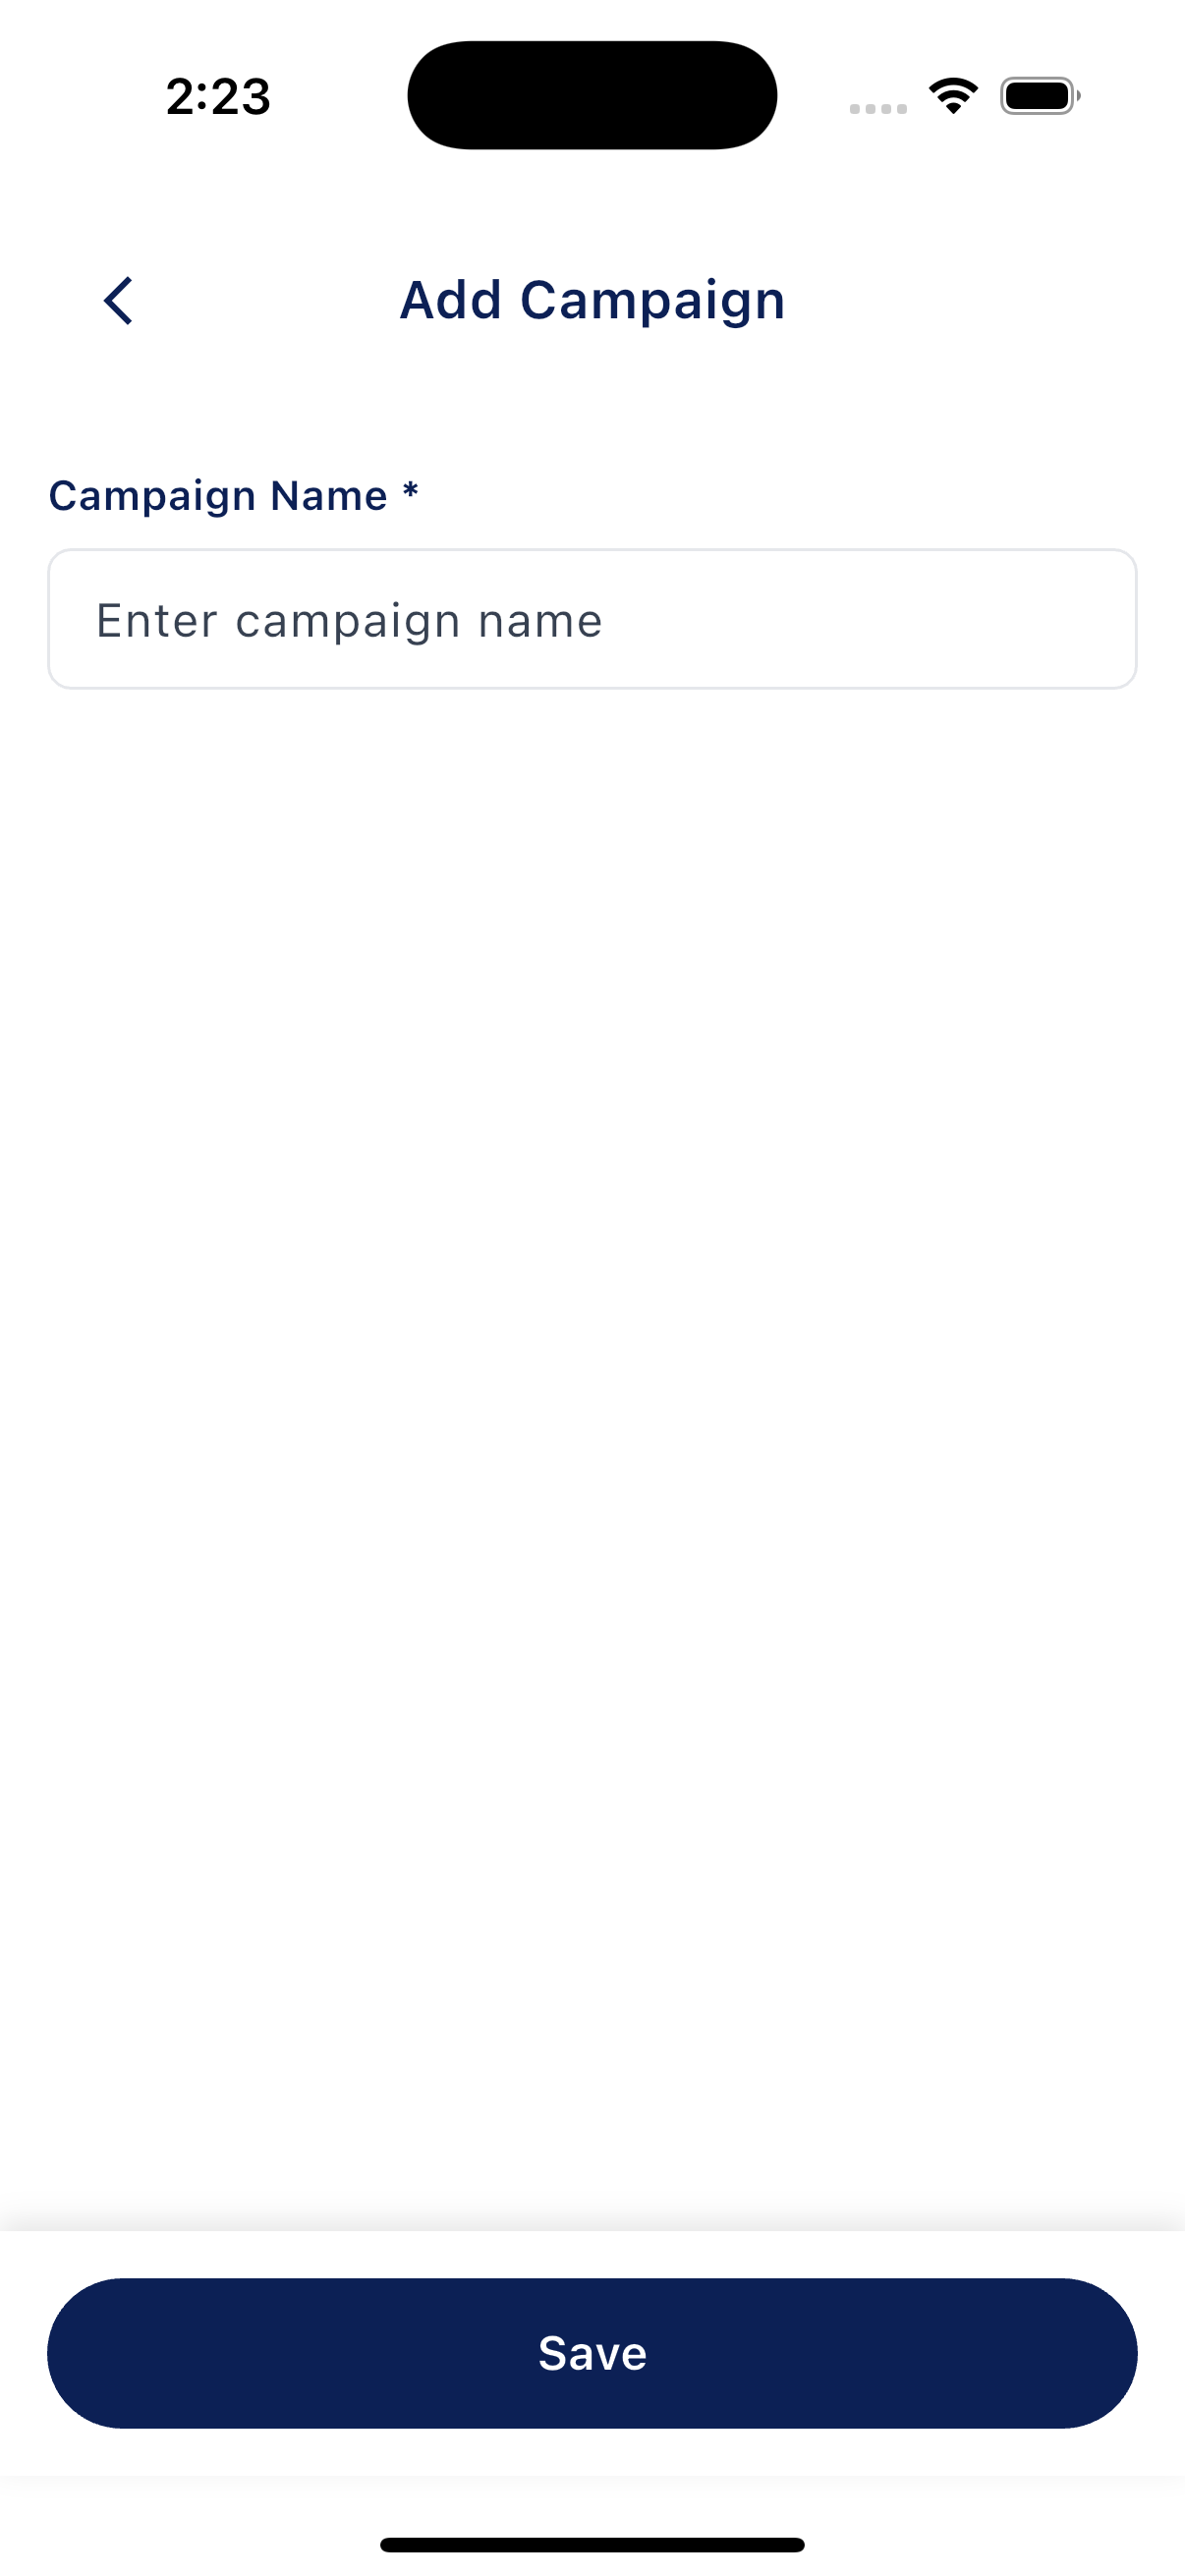
From the Campaigns tab, tap + in the top right to open the Add Campaign form. It has a single field, Campaign Name. Type a name you'll recognize later and tap Save. New campaigns are created as Custom and start turned off, so nothing goes out until you're ready.
Filling in the details
After you save, you land on the Edit Campaign screen. This is where you set everything else.
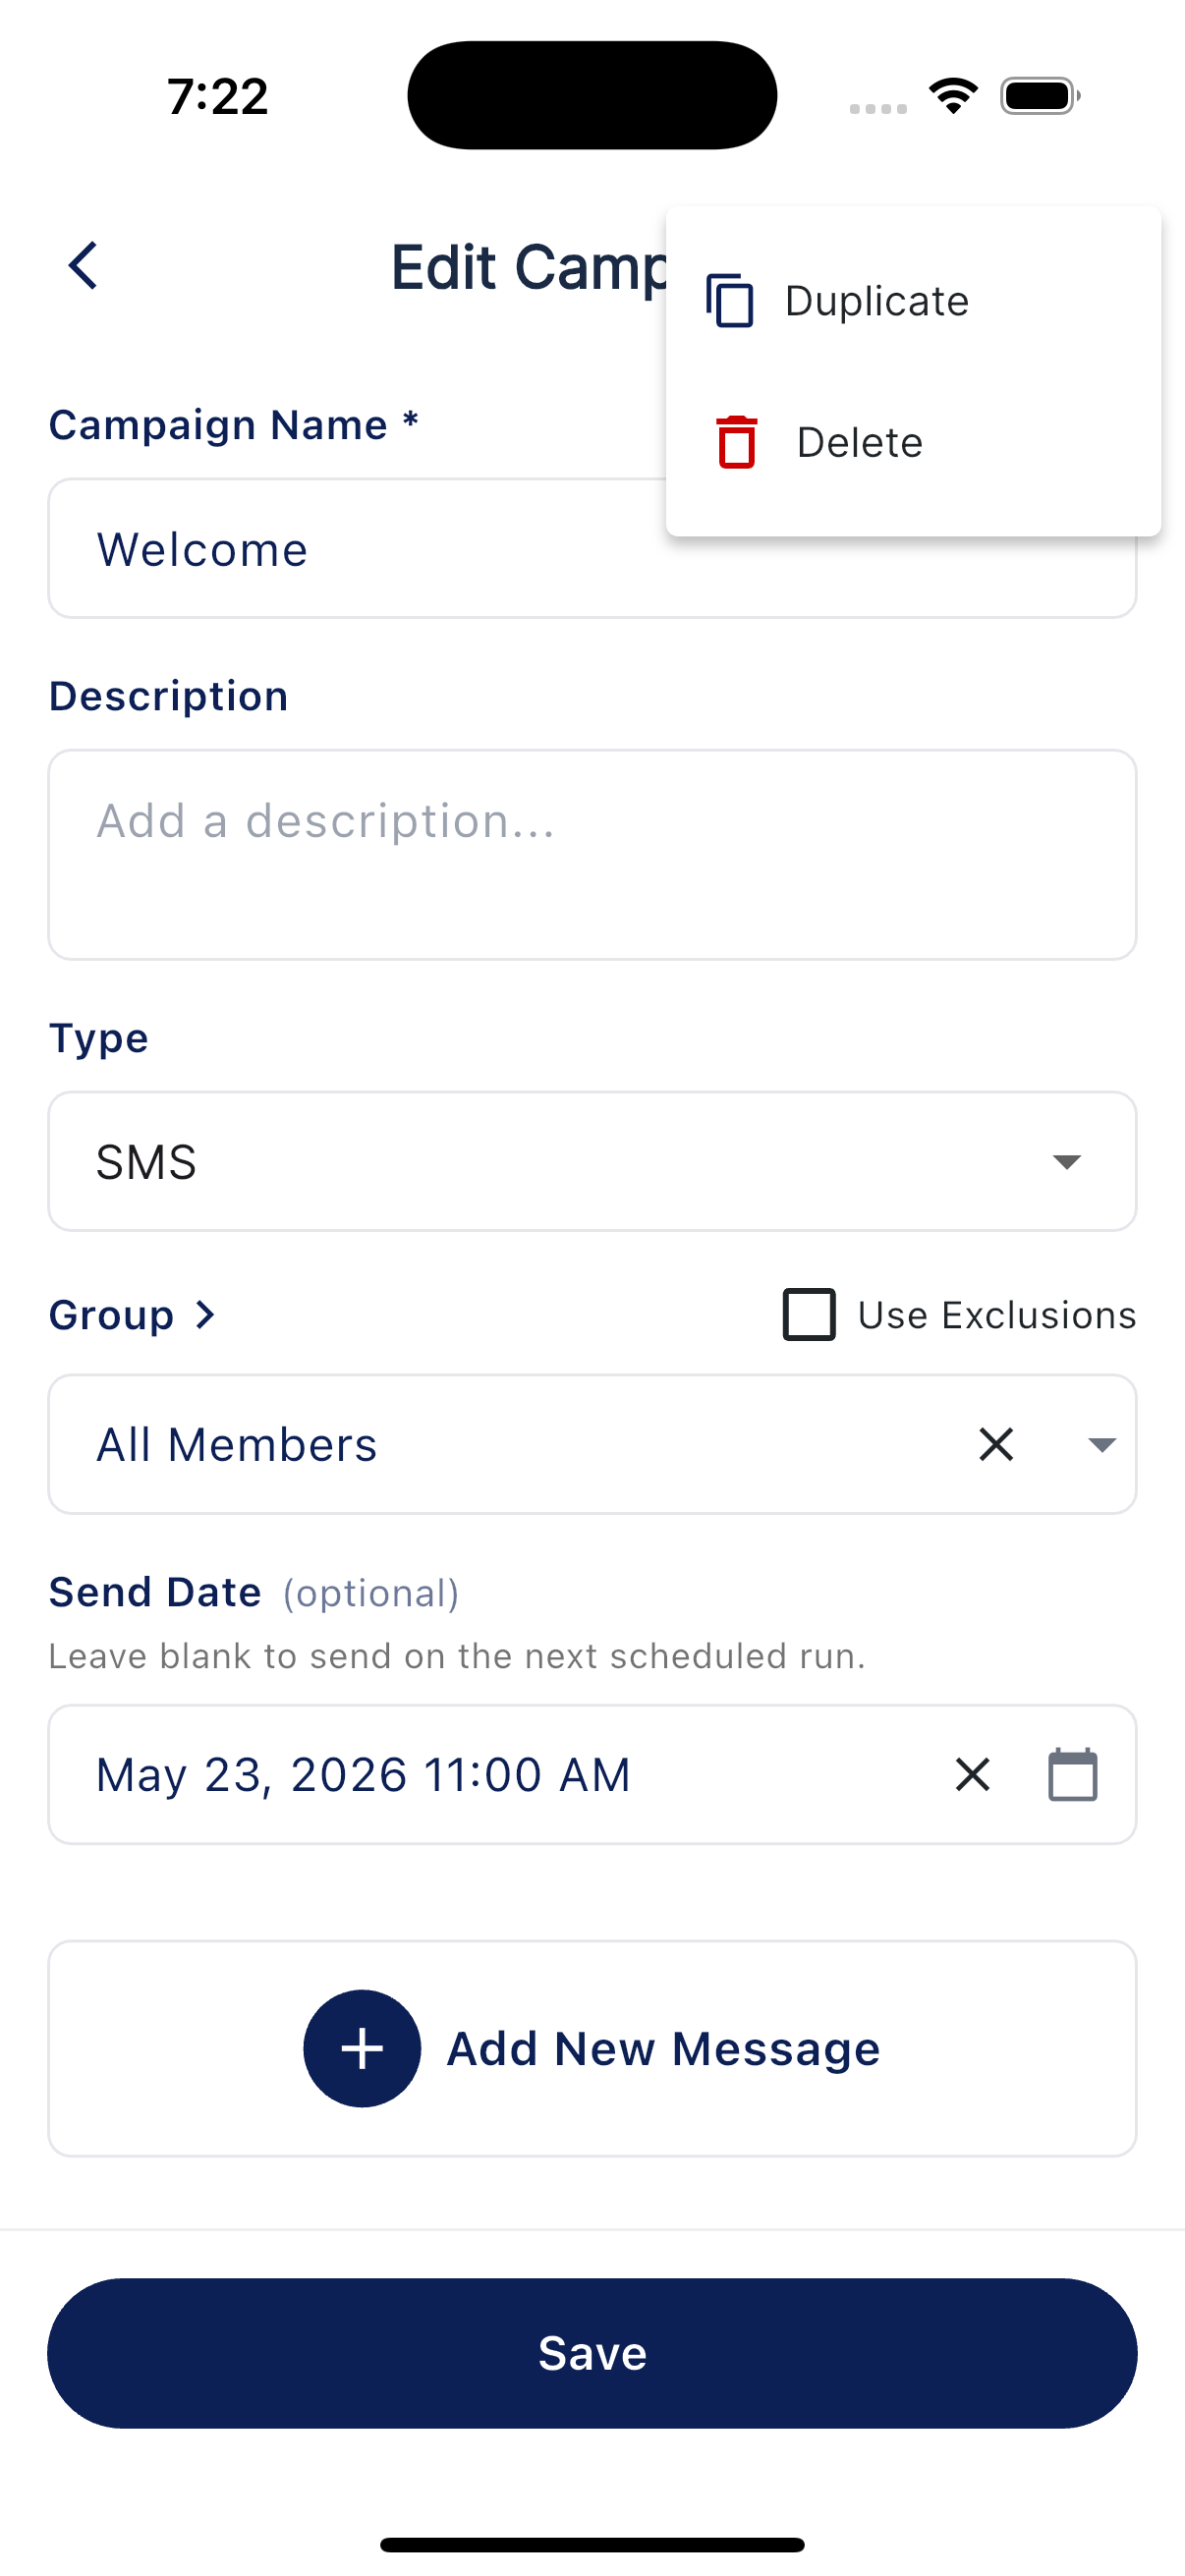
- Description. An optional note for yourself.
- Type. A dropdown with SMS or Email.
- Group. The group of contacts this goes to. Tap to pick one. A Use Exclusions checkbox lets you respect your exclusion list.
- Send Date (optional). A fixed date and time to send. Leave it blank to send on the next scheduled run.
Adding messages to the campaign
Tap Add New Message to open the message editor. Each message has a Day number (Day 1, Day 5, and so on) that you set in the editor, and messages are ordered by that day. Add the title and body, then save.
To change a message later, tap its card to reopen the editor. To remove one, open it and use the Delete option inside the editor.
See Editing messages and adding personalization for what's on the message editor.
Turning it on
When the messages and group are set, go back to the Campaigns list and flip the toggle on the campaign's card to turn it on. See Turning on a campaign for what to expect during the first send.