Using filters to control who you message
Filters are personal rules that protect the most important relationships in your downline and prevent the same person from getting hit twice by overlapping campaigns. You set them up once and they apply to every automated send after that.
Why filters matter
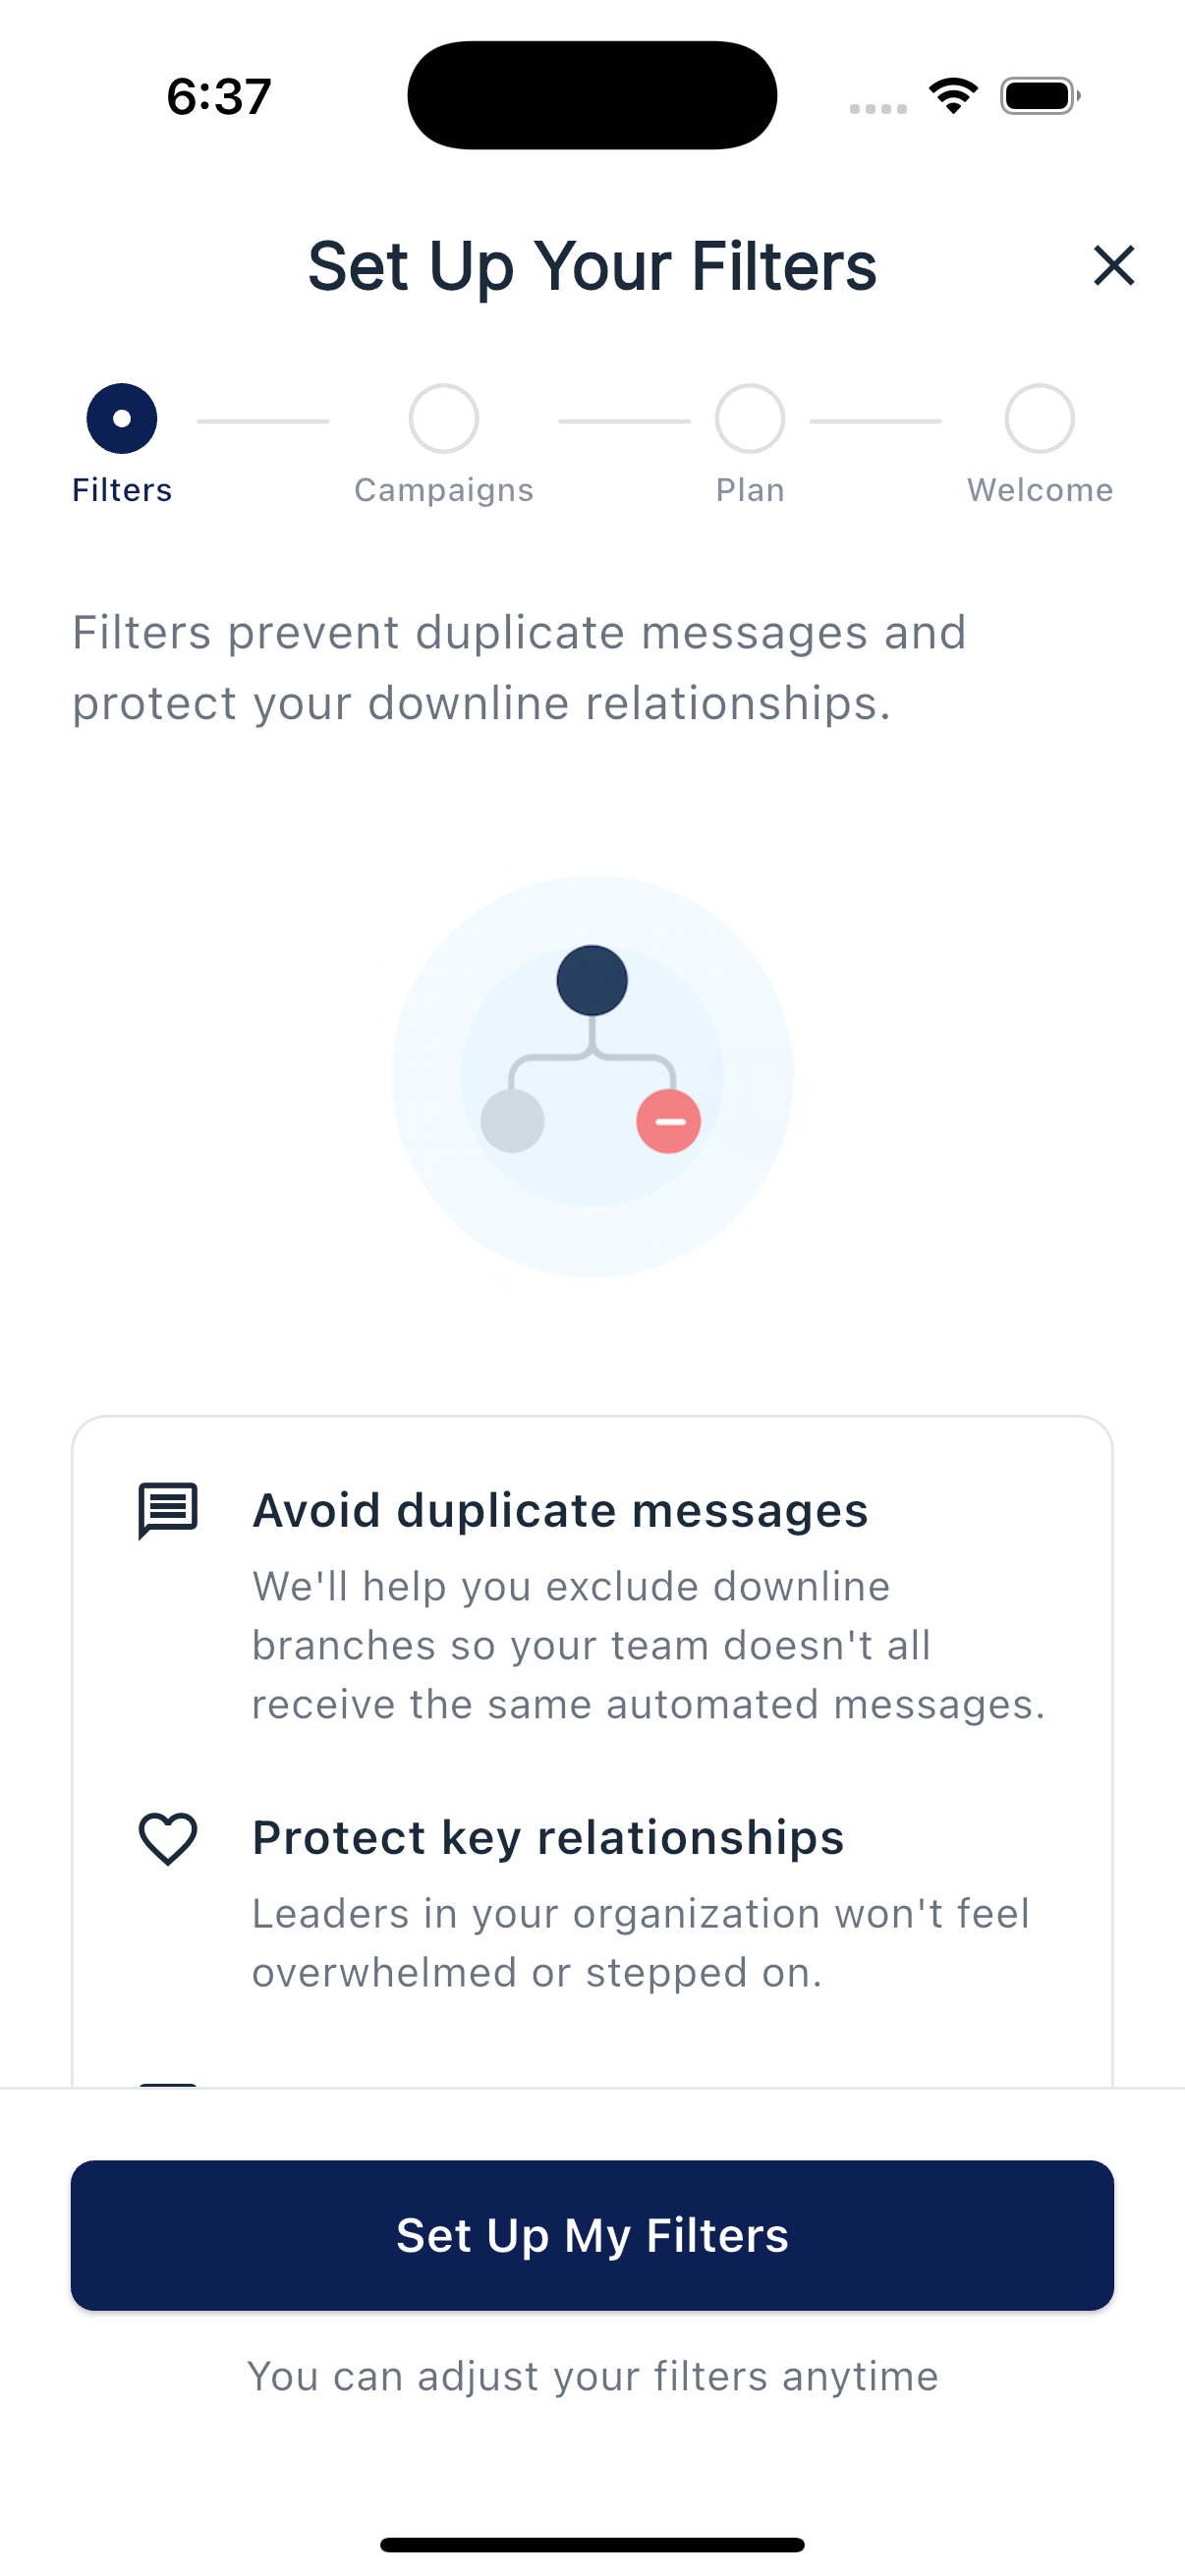
Filters exist to solve three problems at once. They keep your upline and key leaders out of automated outreach, since those people should hear from you personally, not from a campaign. They stop someone from receiving the same offer twice when two campaigns happen to overlap. And they save credits by skipping anyone who shouldn't be in the send to begin with.
Where you set up filters
You first see filters during onboarding:
You can also reach filters any time under More, then Filters:
Editing your filters

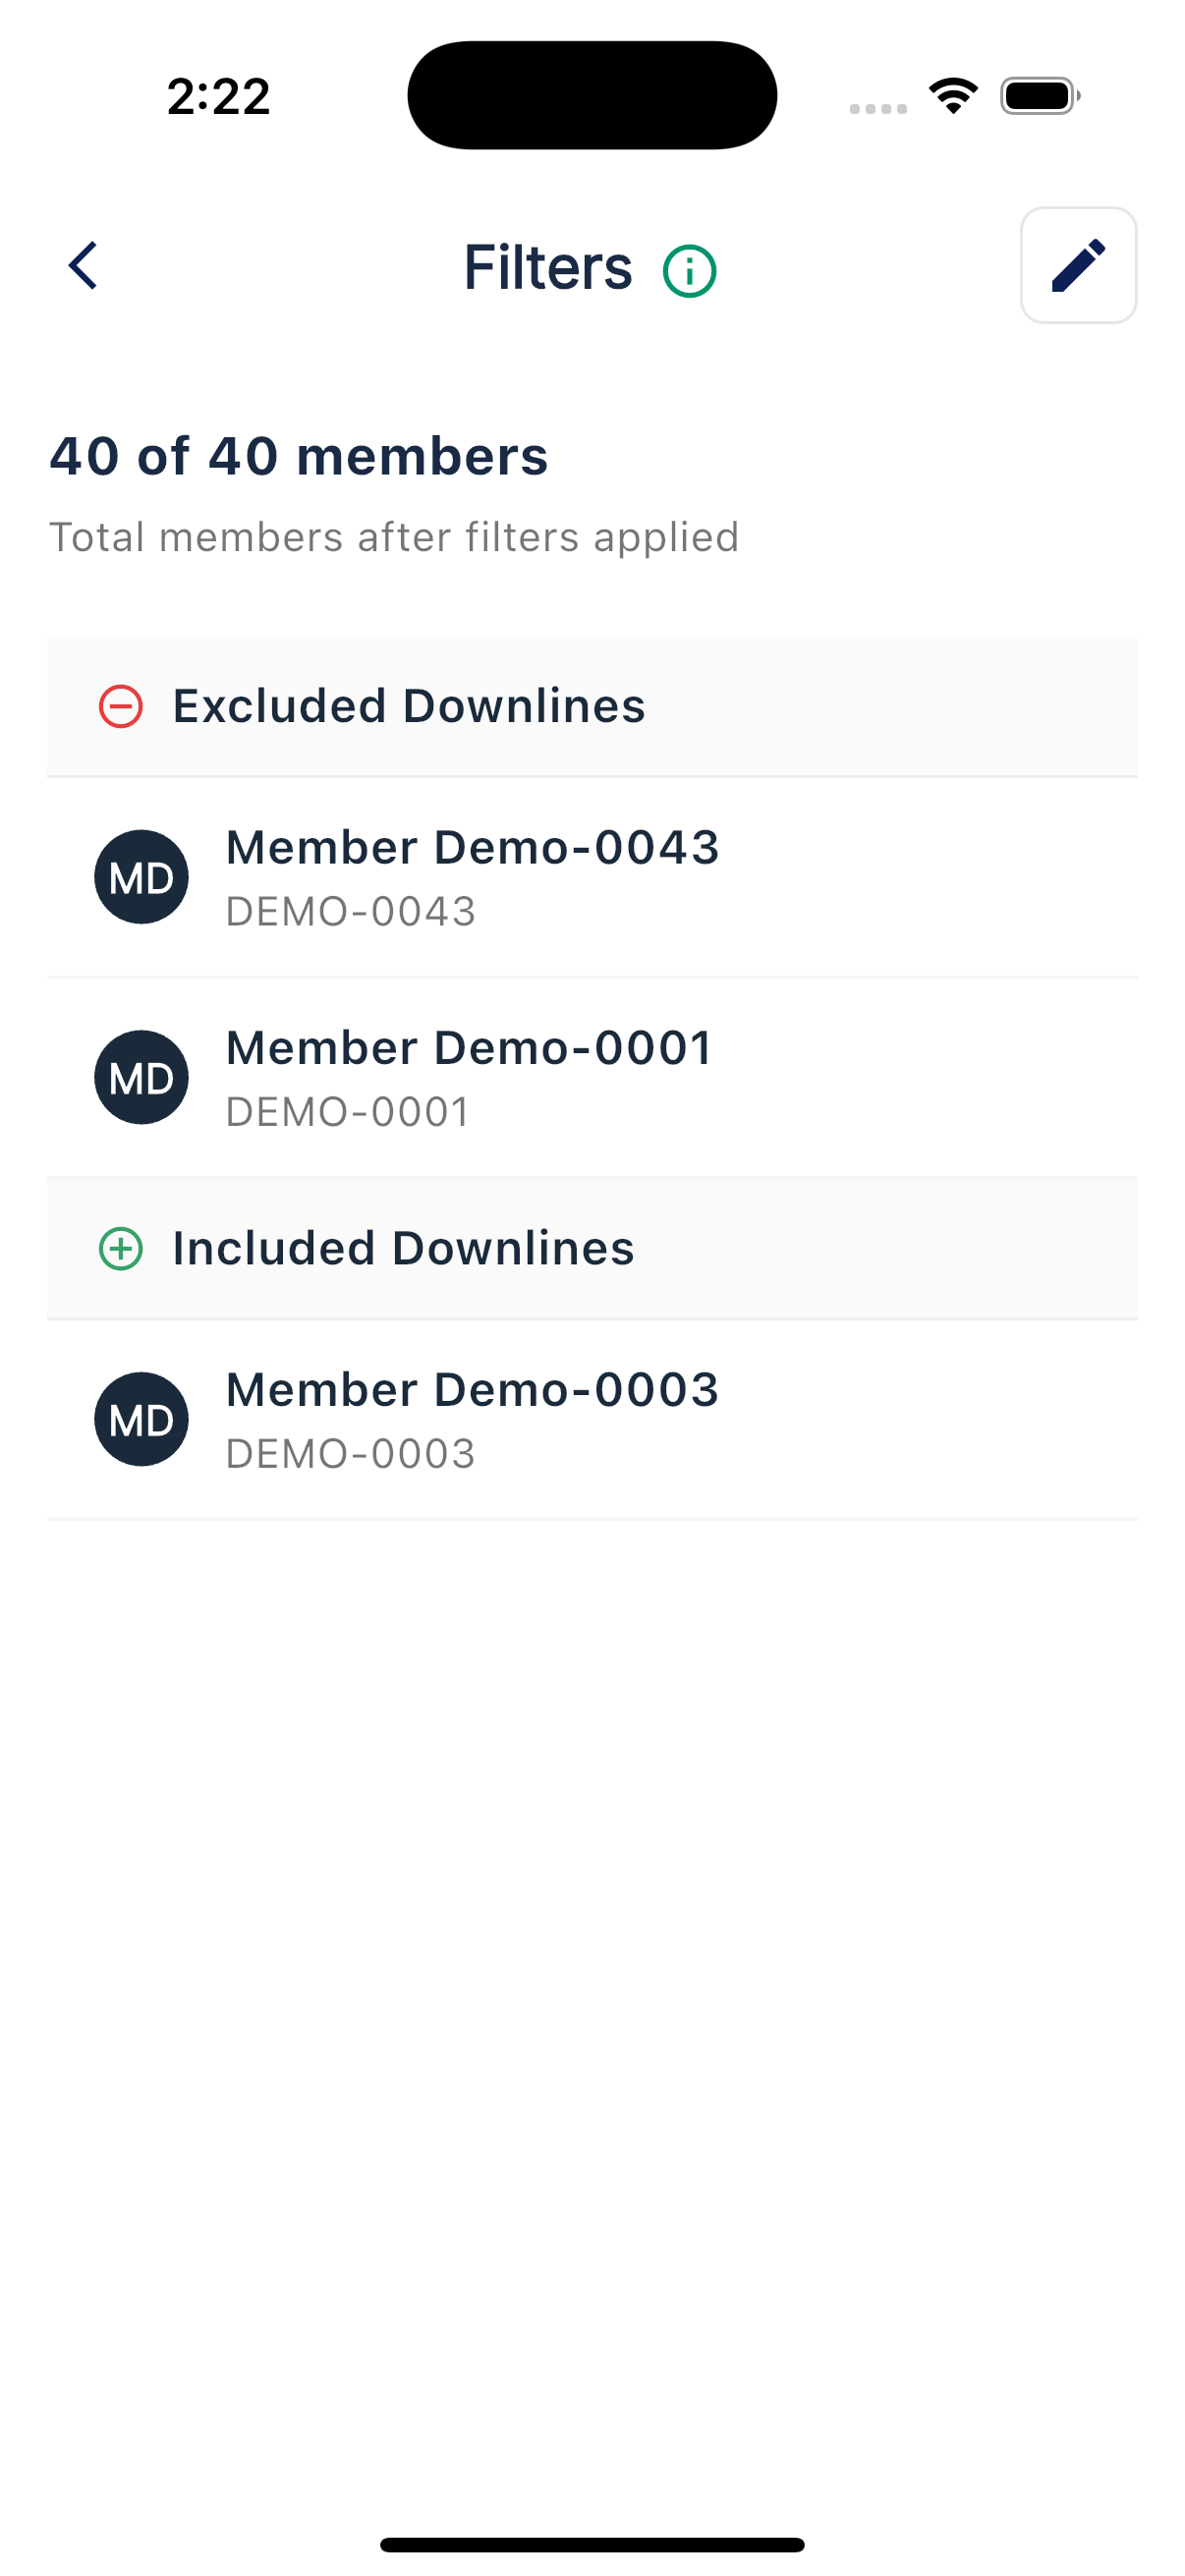
Your filter is two lists: Excluded Members and Included Members. You add people to either list by searching their member ID or name.
Your entire downline is included by default. Use Excluded Members to remove legs that are being supported by another leader, since people on this list won't receive your campaign messages. Use Included Members to add back anyone you still want to reach personally.
When filters apply
Filters run on your automated campaign sends. For a custom campaign, the Edit Campaign screen has a Use Exclusions checkbox, so you can decide per campaign whether your excluded members are skipped.