Business info and phone number registration
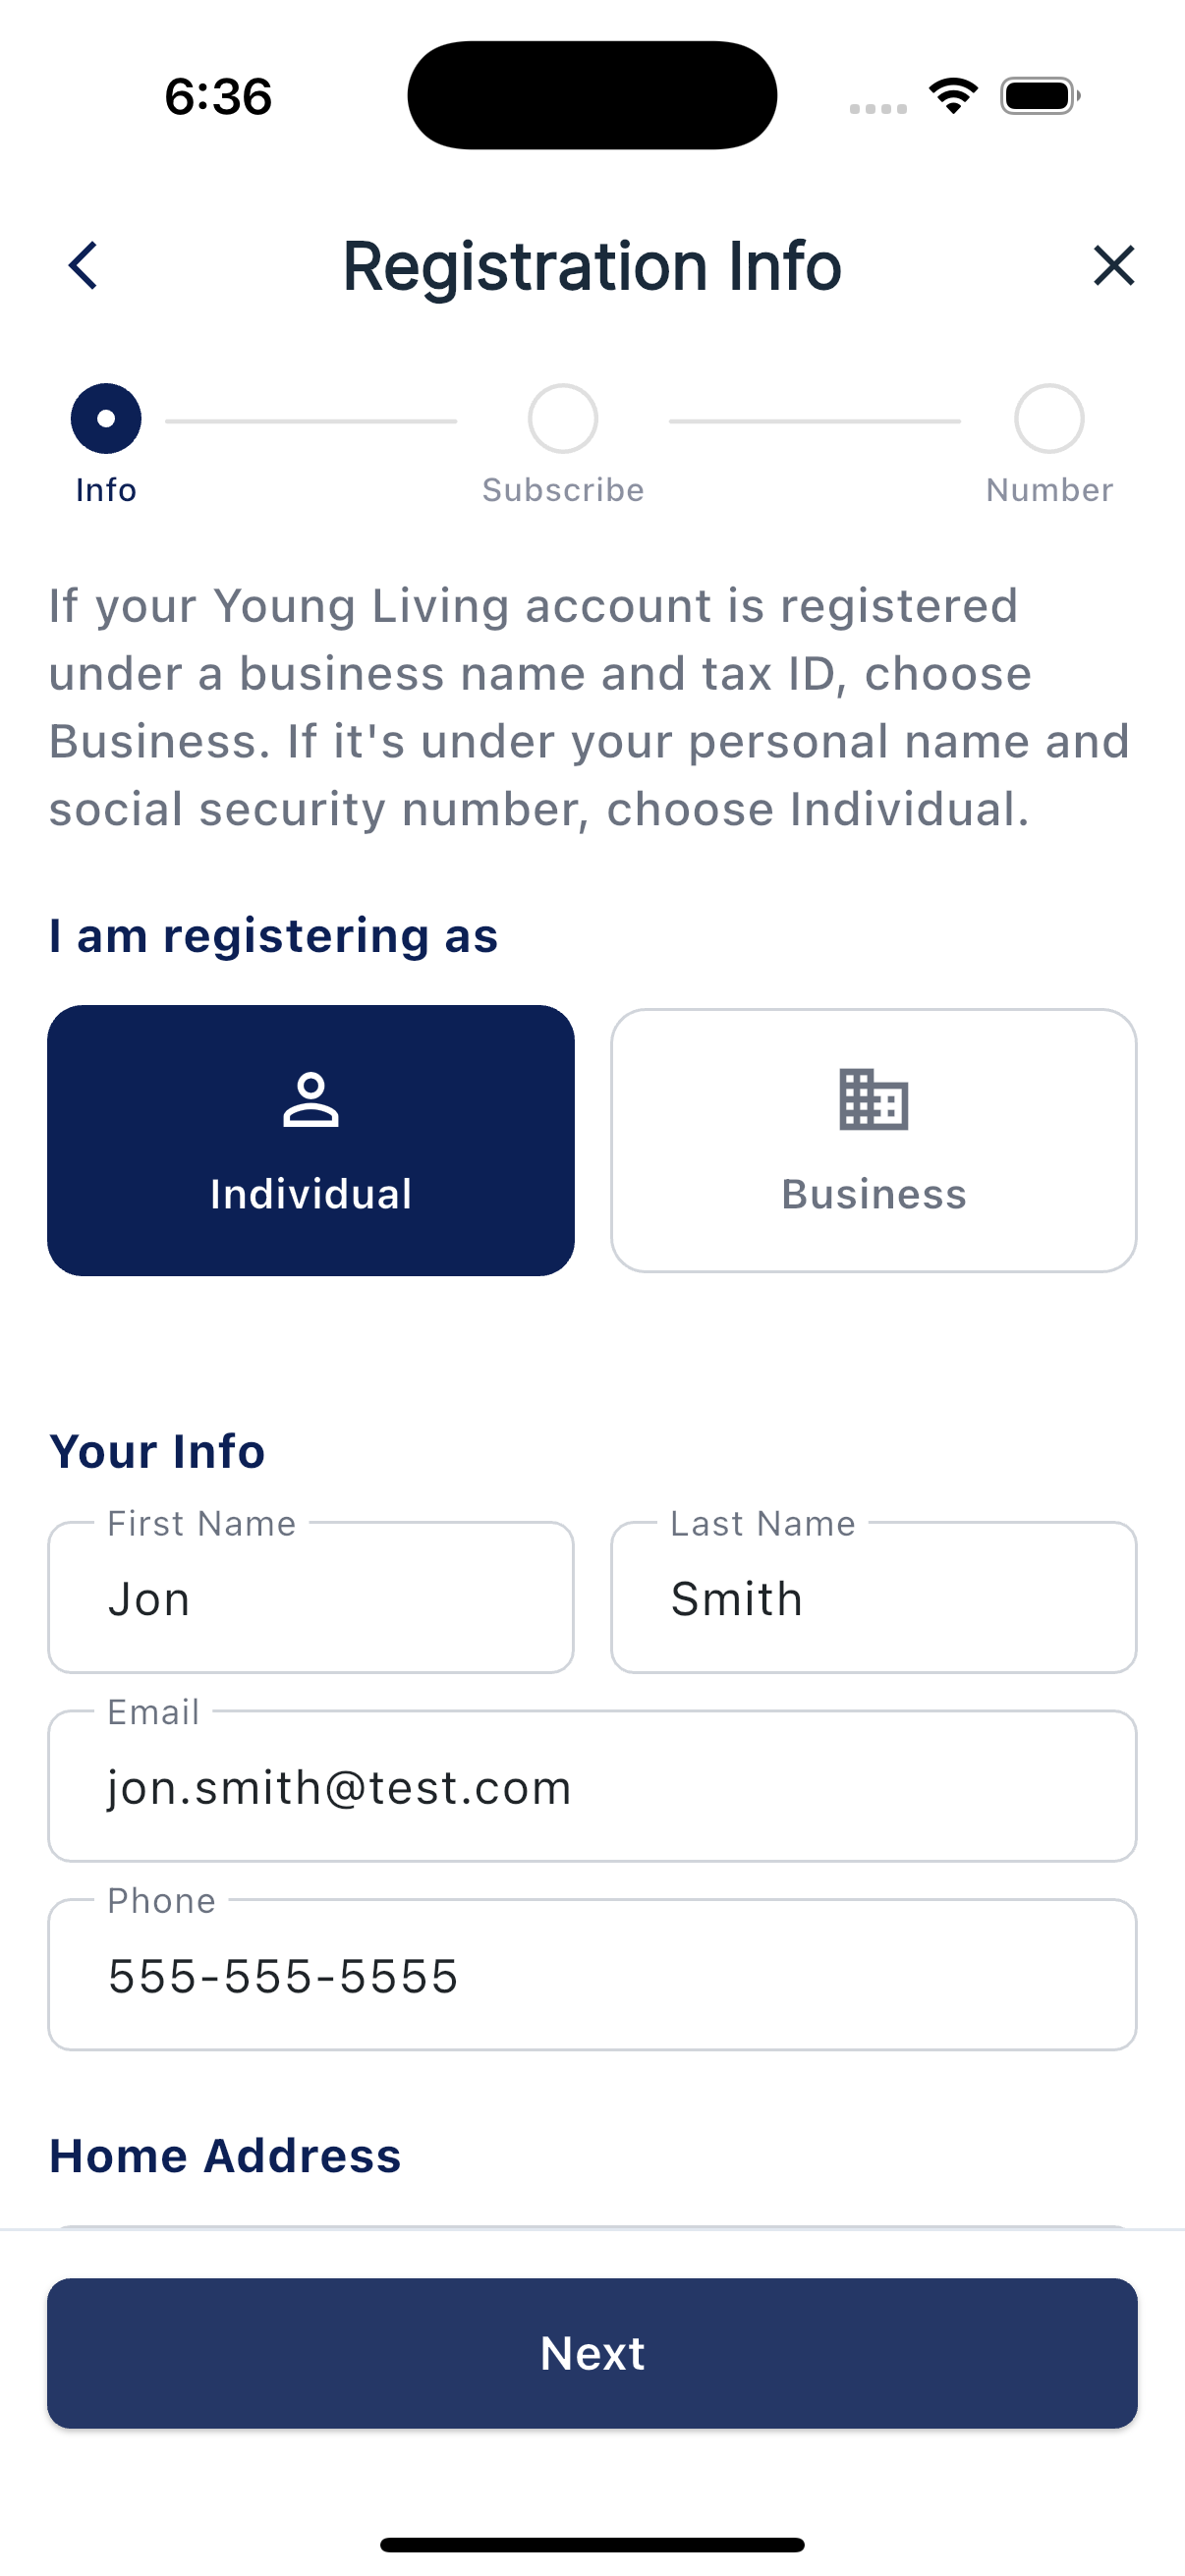
After you sign in, you'll land on the Registration Info screen. The information you enter here is what the mobile carriers require to register your phone number for sending texts.
Pick Individual or Business
At the top of the screen you'll see two buttons: Individual and Business, with this guidance:
If your Young Living account is registered under a business name and tax ID, choose Business. If it's under your personal name and social security number, choose Individual.
Most Brand Partners pick Individual. Choose Business only if you've set up an LLC or corporation for your YL business.
What you'll fill out
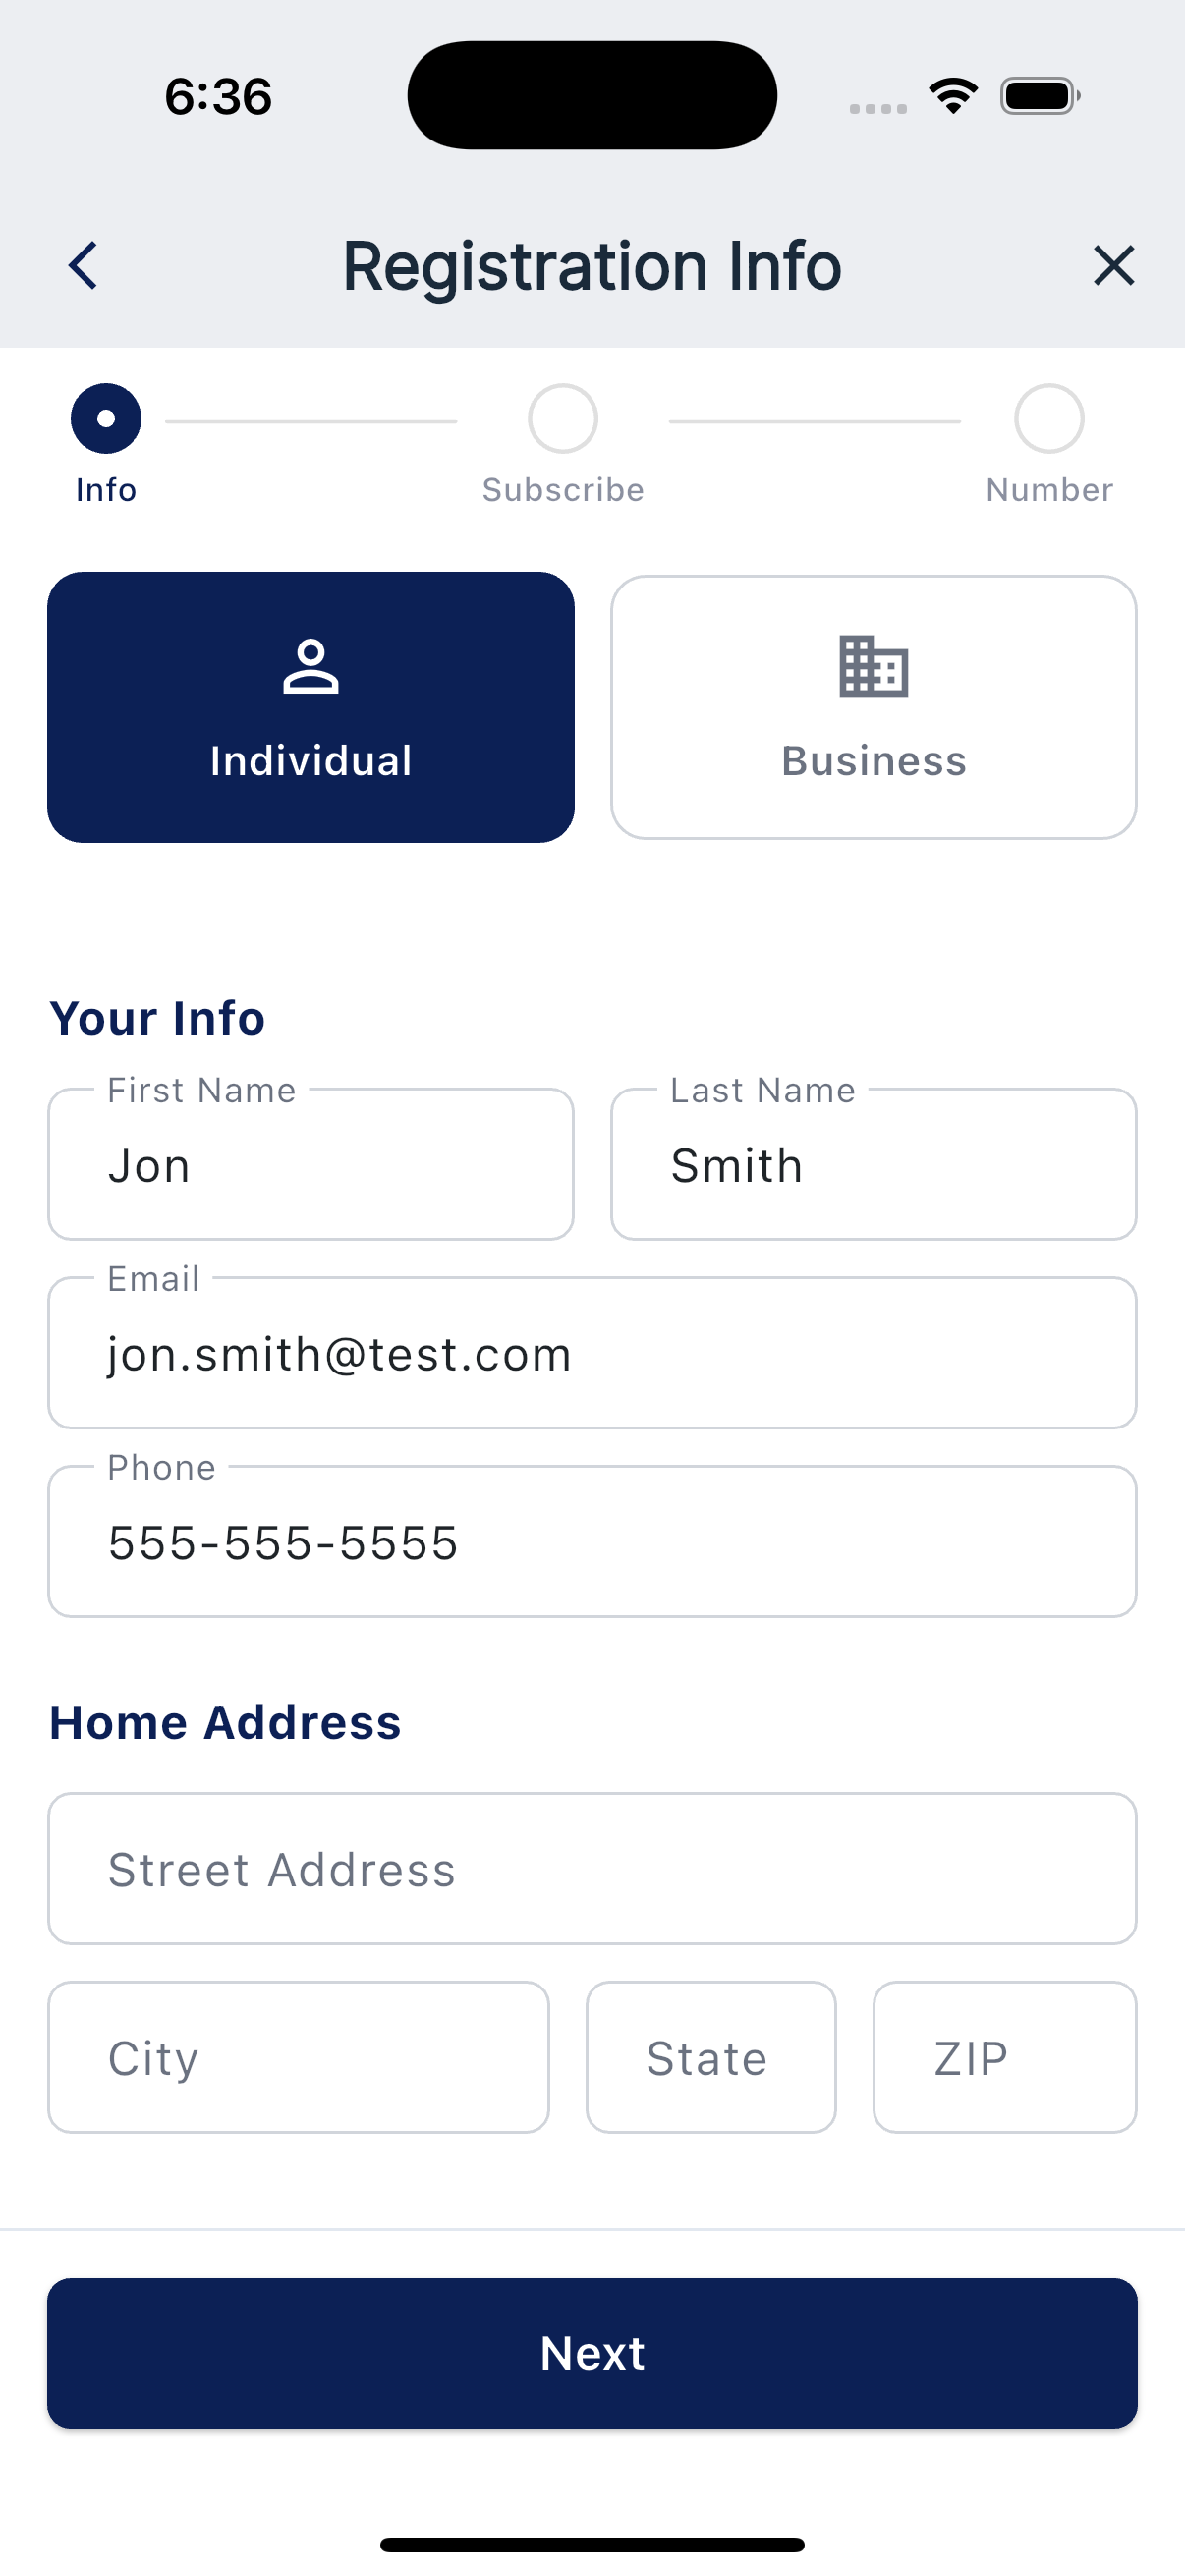
If you picked Individual, sections titled Your Info and Home Address:
- First name, last name
- Email, phone
- Street address, city, state, ZIP
If you picked Business, sections titled Business Details, Authorized Representative, and Business Address:
- Business name and Business Type
- EIN (your tax ID)
- Authorized representative's name (you, in most cases)
- Business Title and job position
- Phone, email, and business address
Most fields prefill from your Young Living profile, so it's faster than it looks. Scroll to the bottom of the form to complete your address before tapping Next.
What happens next
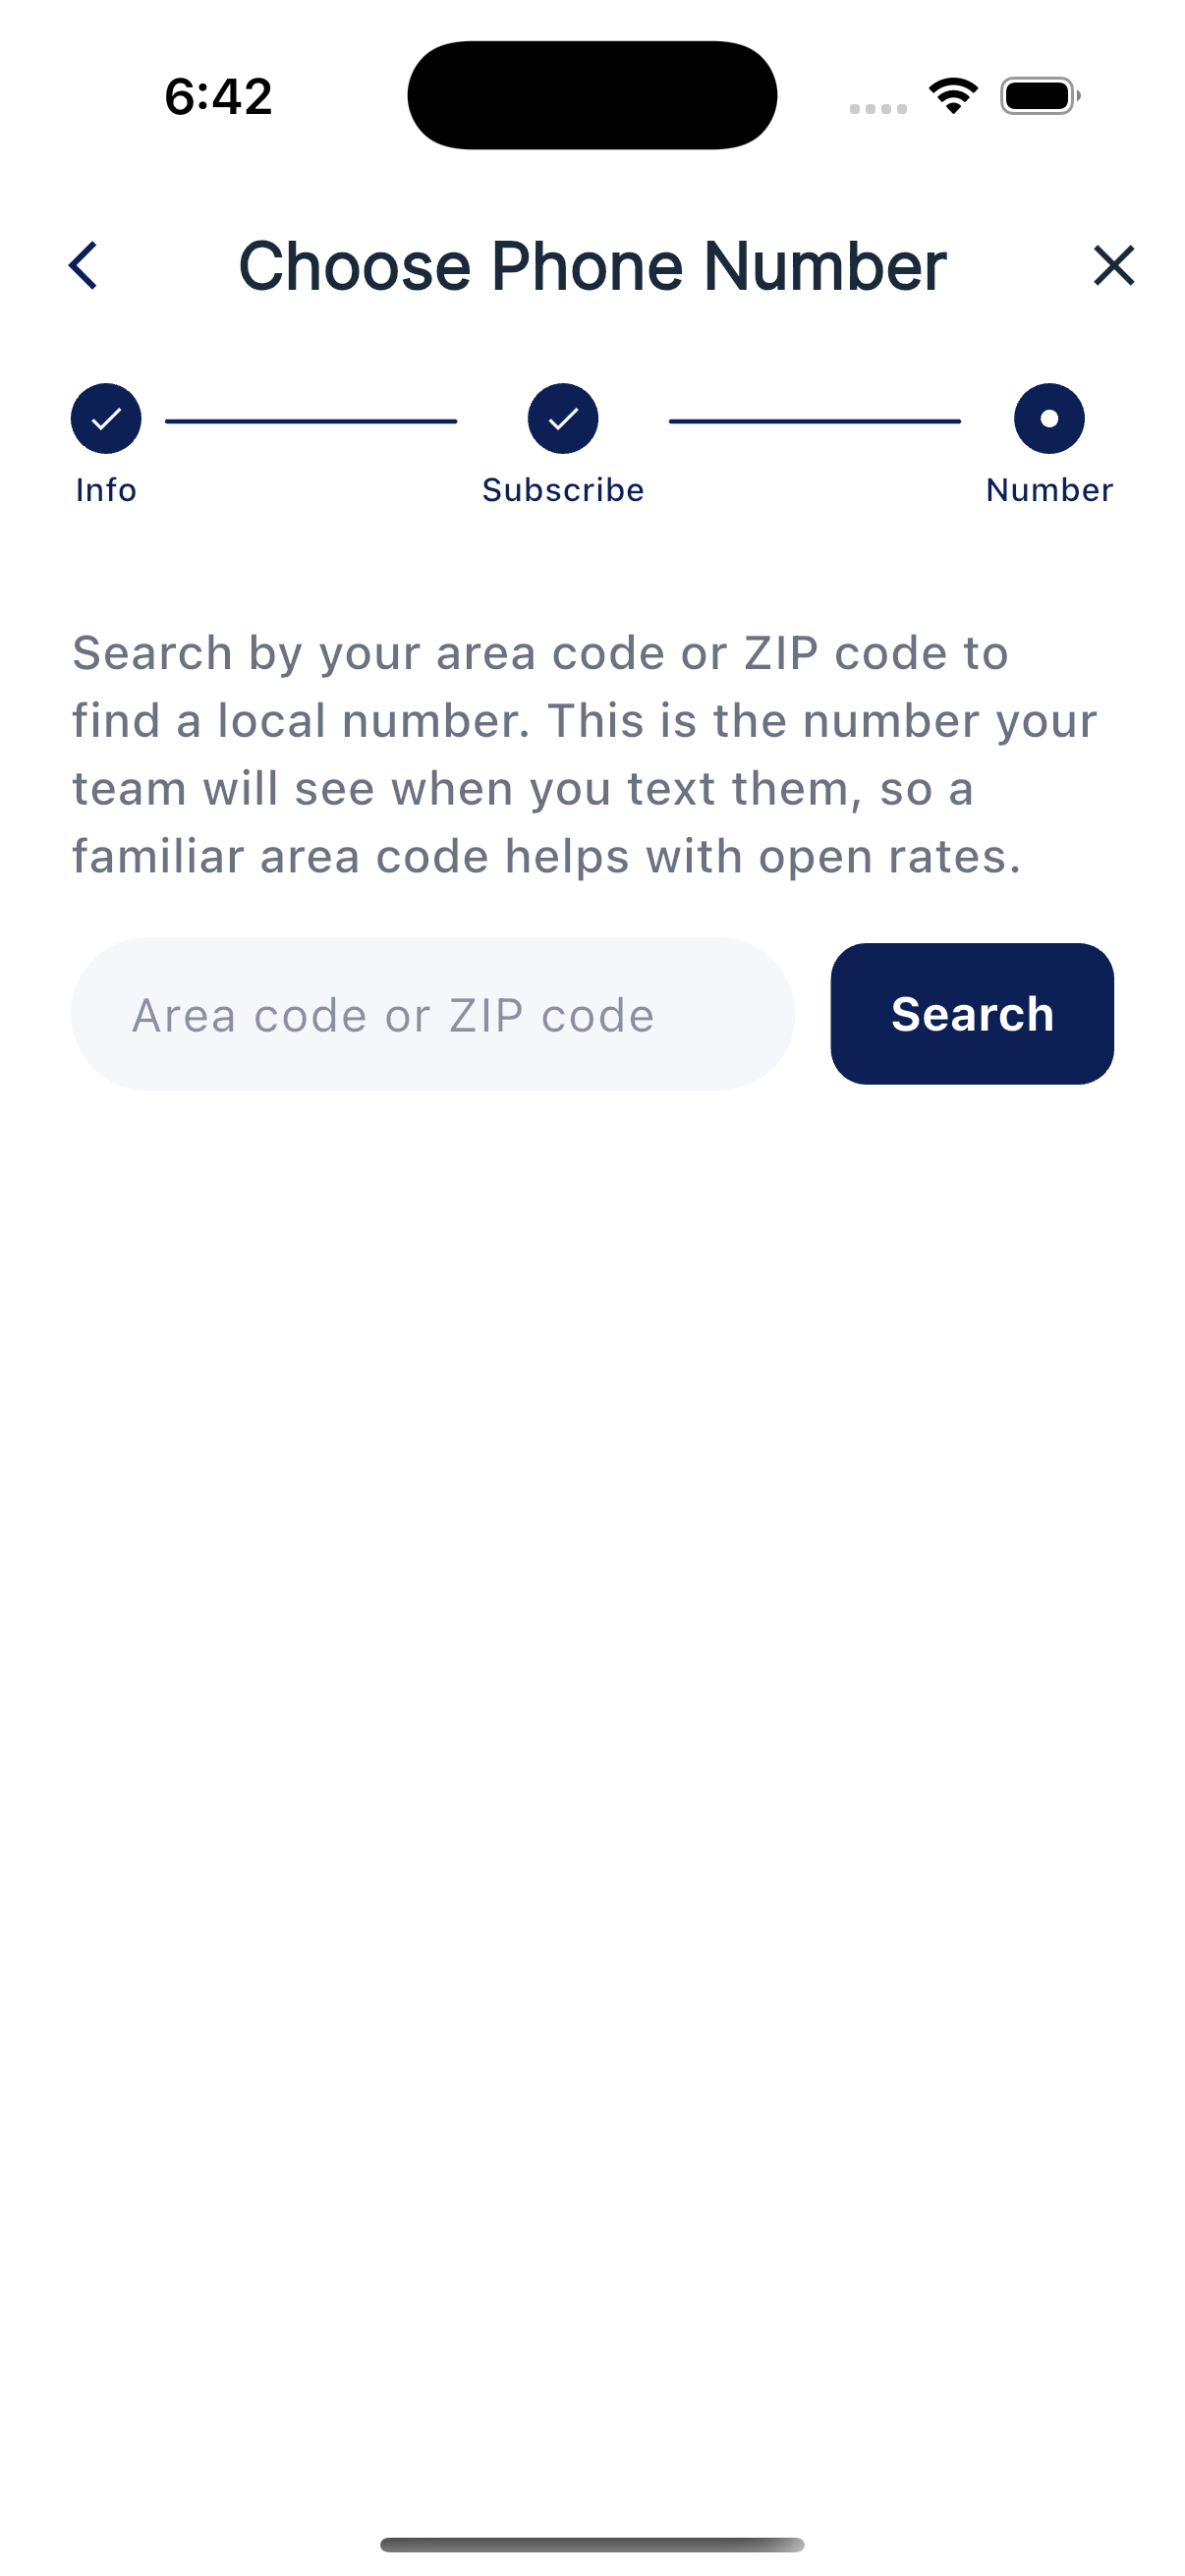
After you tap Next, the app walks you through the rest of pre-registration in this order:
- Subscribe to a plan.
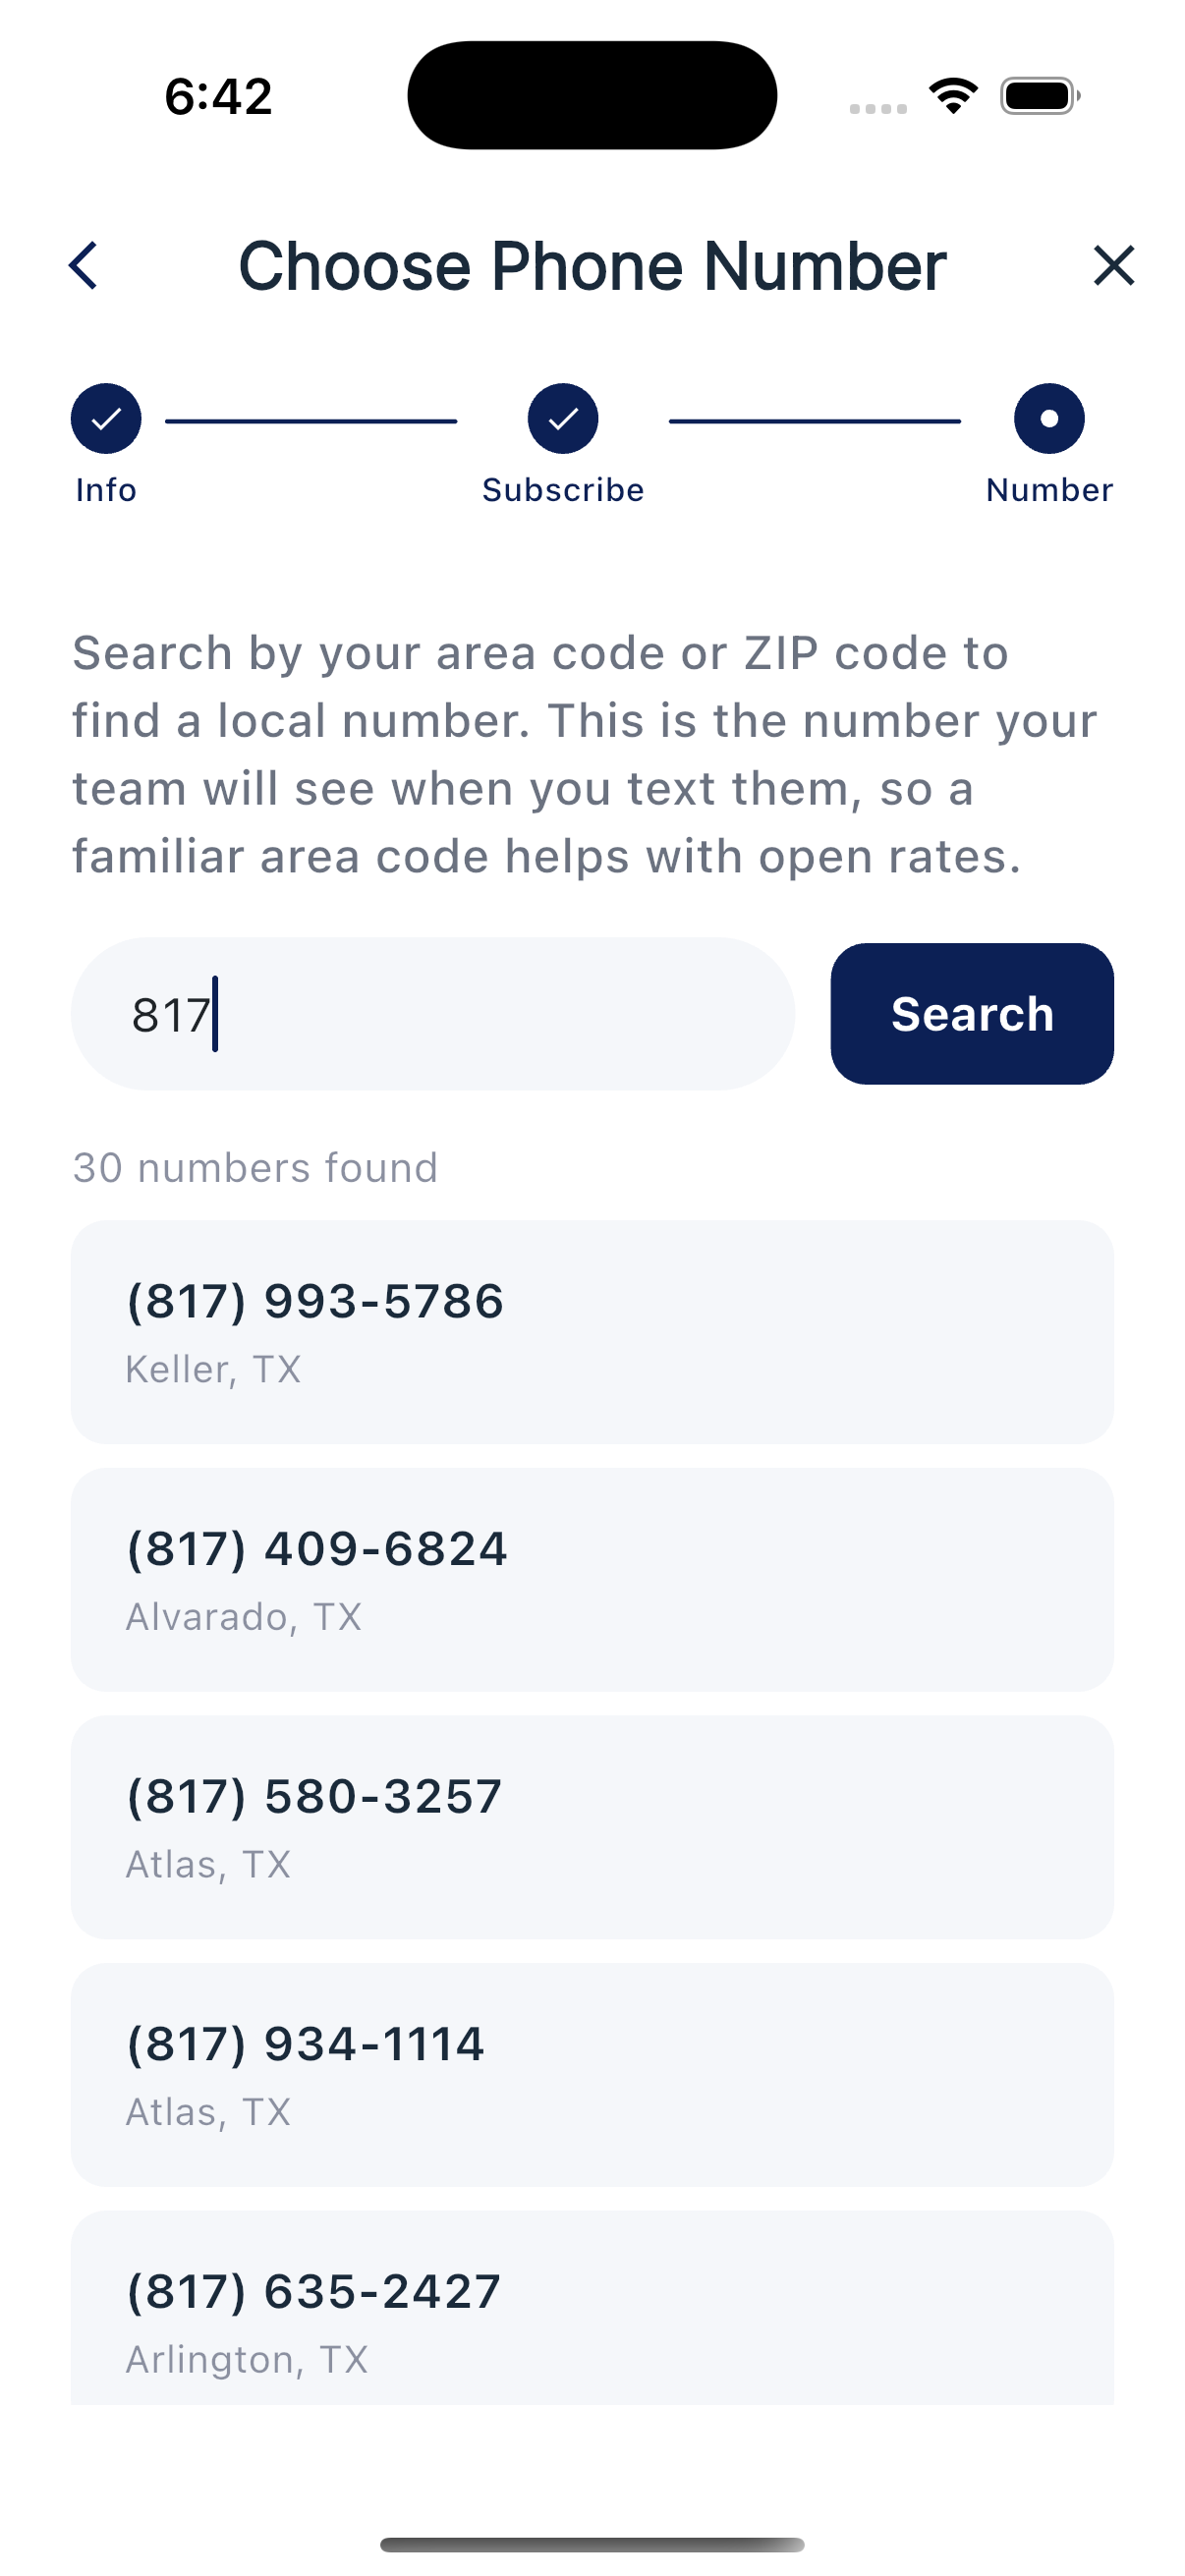
- Choose your phone number. Pick a US area code that fits where you do business.
- Wait for SMS approval. Review times vary, but plan on around a week, and sometimes longer.
Email works right away. Texts will start sending as soon as your phone number is approved.
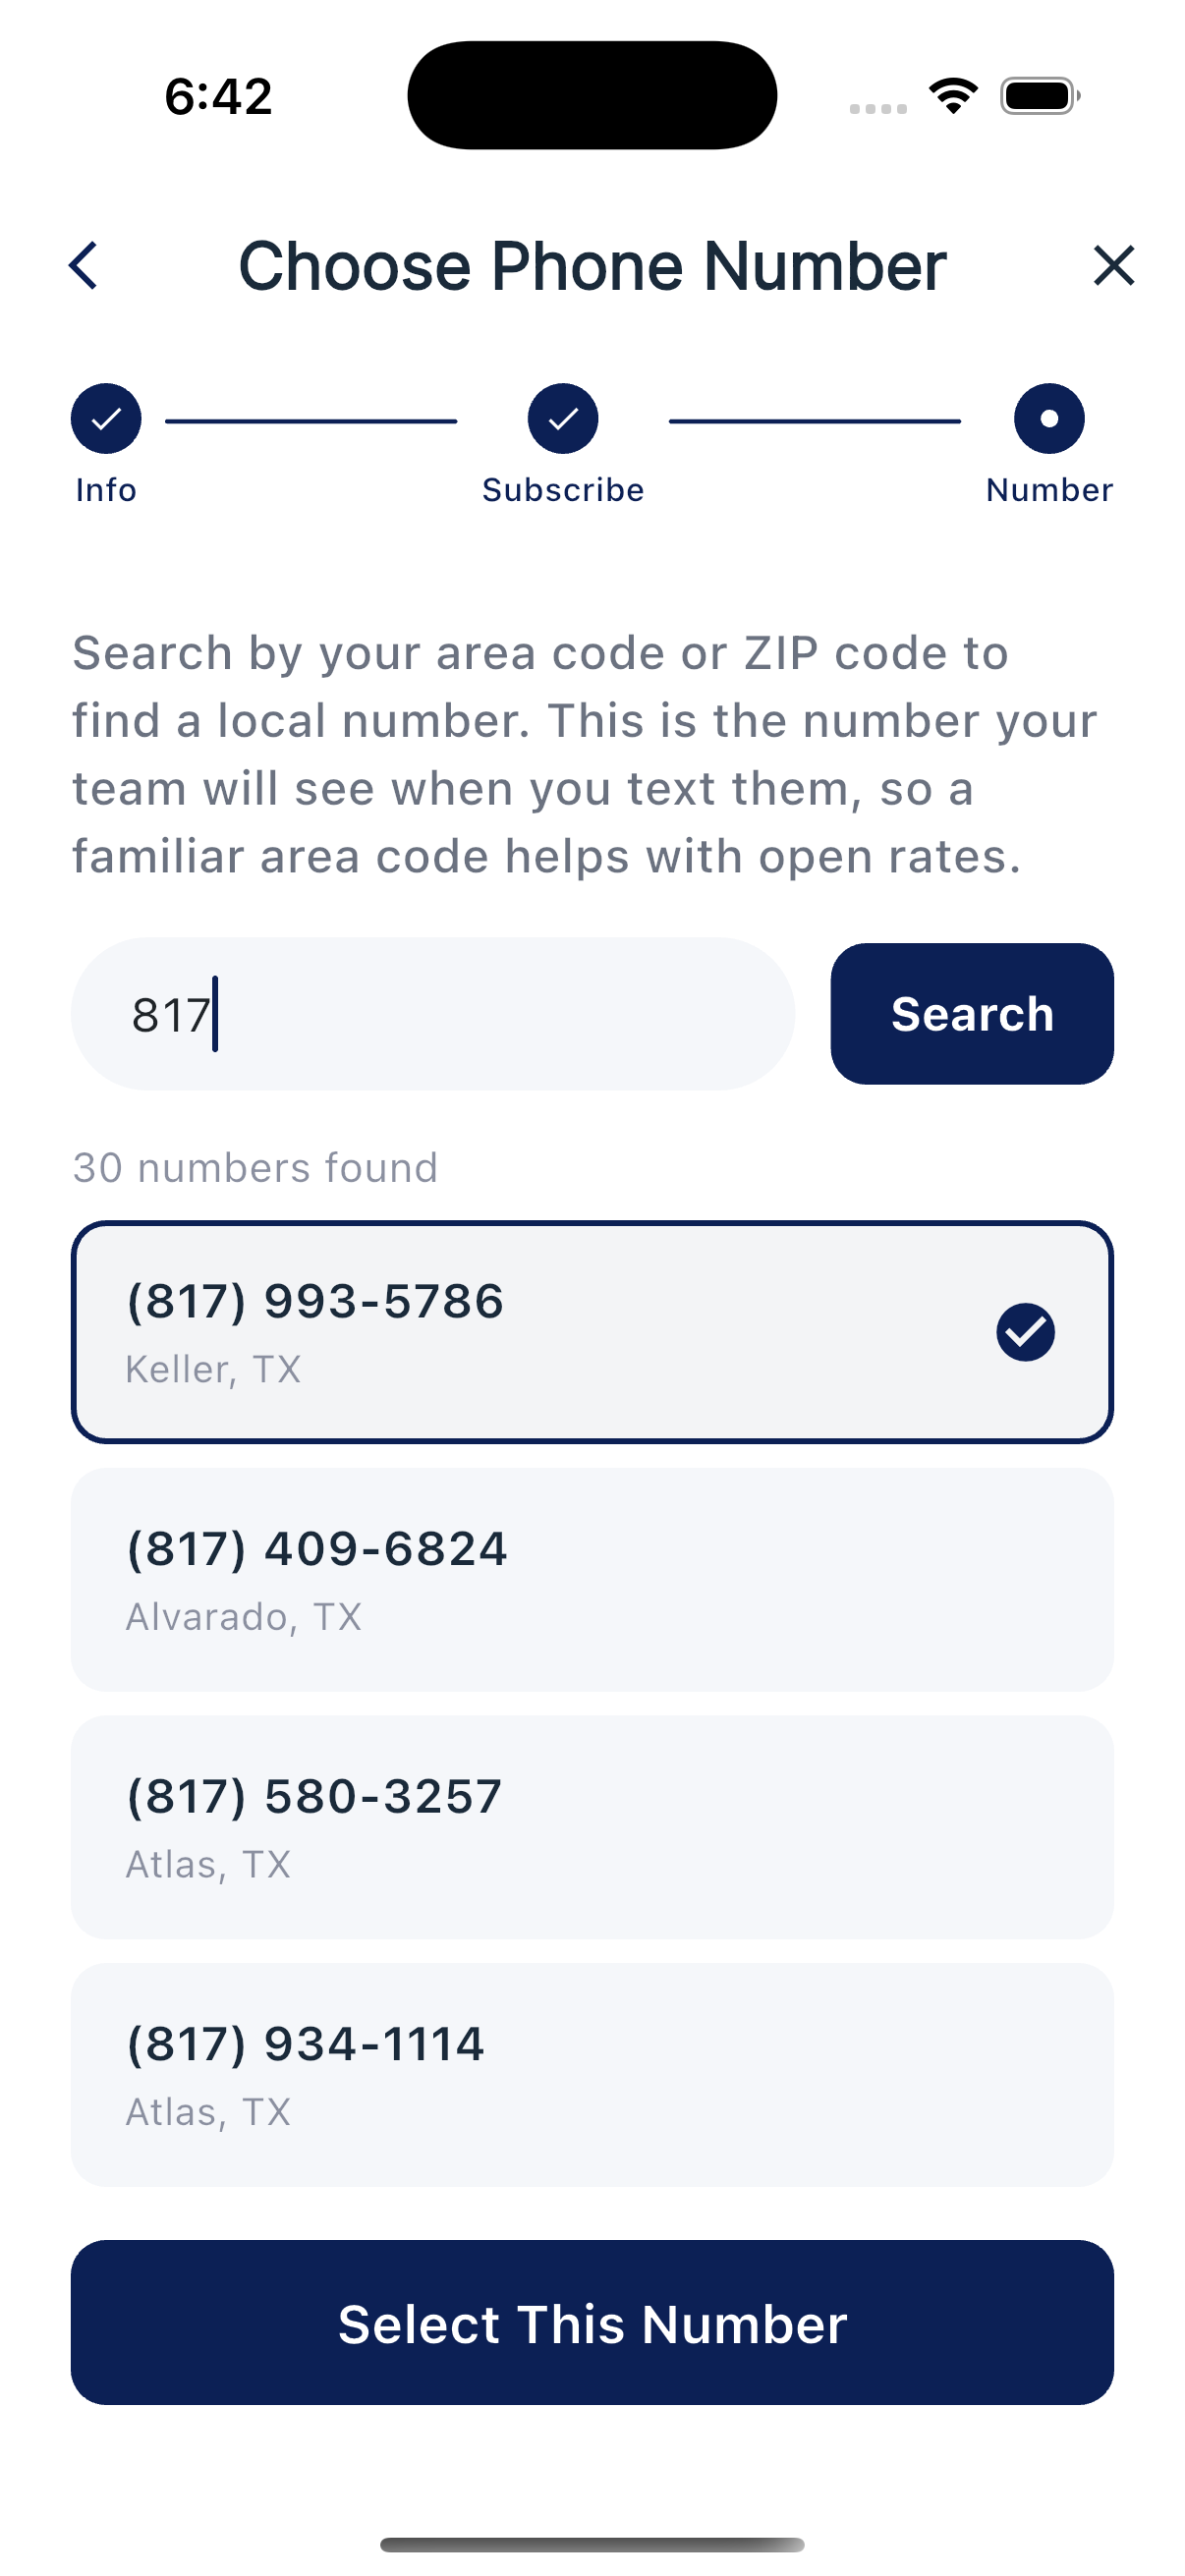
Picking a phone number
When you reach the phone number step, you'll enter an area code, browse available numbers, and confirm your pick.
Waiting for approval
After you confirm your number, the app shows a registration status screen while the carriers review your submission.
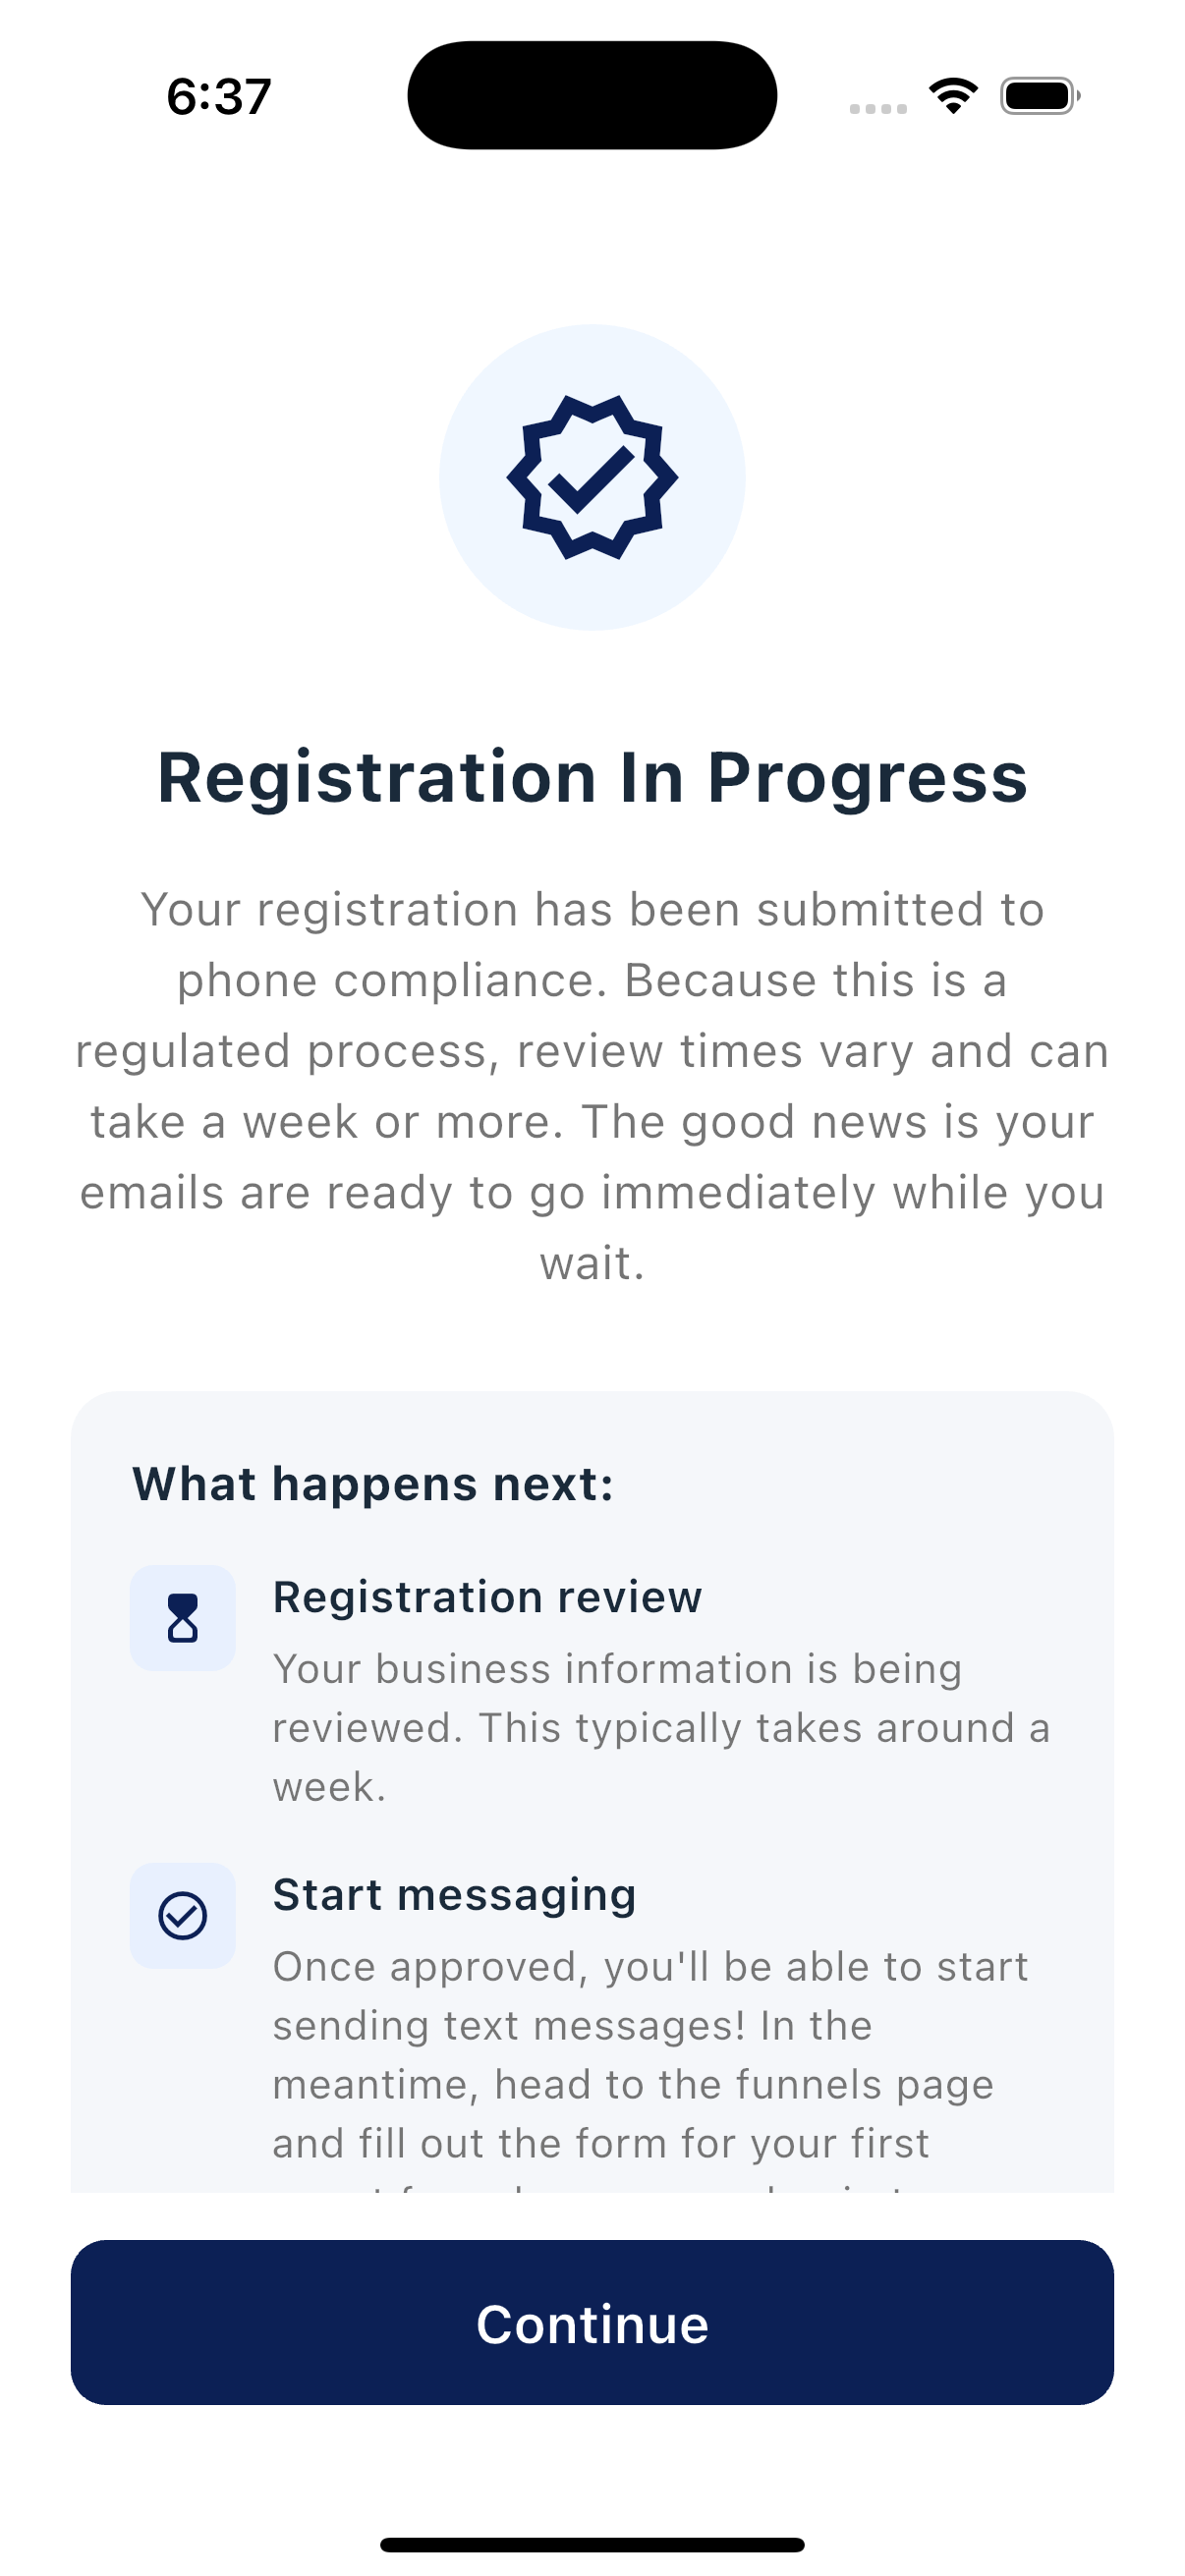
Once you're approved, the app moves you into post-registration setup: filters, campaigns, welcome message, and importing contacts.
Need to update later?
Right now, the Registration Info screen is filled out once during setup. If something needs to change later (a new address, a new EIN, a typo in your name), contact support and we'll update it for you.